DIY Low Cost Flexible Sticky PCB Fabrication
Zohar Messeca Fara | idiot.io 2020
 |
  |
| Materials: | Chemicals: | Tools: | Software: | |||
|---|---|---|---|---|---|---|
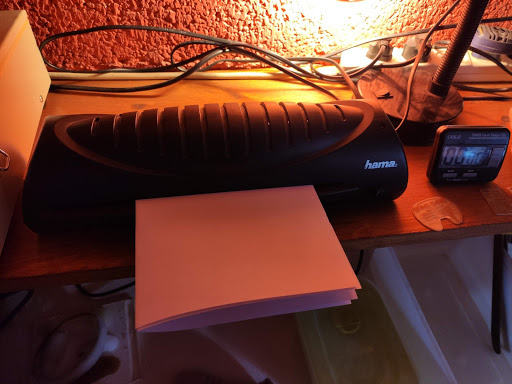
| Copper Tape 50mm Kapton Tape 50mm Masking Tape 20mm Sellotape (clear) A4 Printer Paper A4 pvc for laser printer Steel Wool | PhotoSensitive Dry Film Sodium Carbonate Ferric Chloride Citric Acid Acetone | Ruler (30cm) Precision Knife Scissors Laser Printer Laminator (A4) UV Box Etching Tank Timer Scale Disposable Gloves Kitchen Towel Cotton Ball | Inkscape |  | ||
Process:
1 . Preparing Flexible Copper Tape Clad
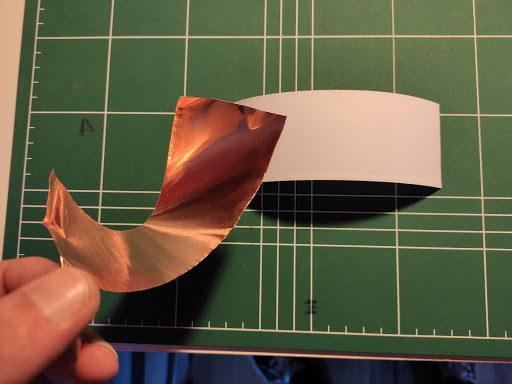 |  | 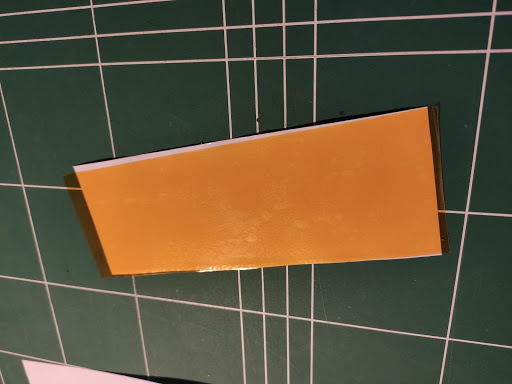 |
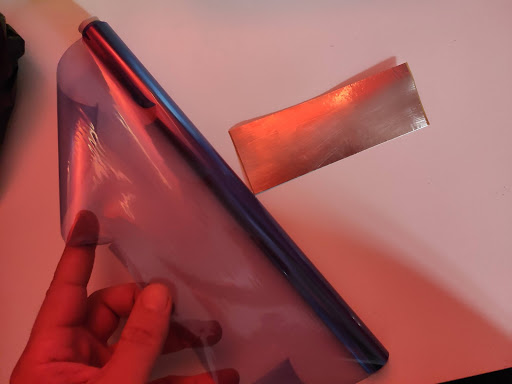
| a) Remove copper tape gently from the application paper. | b) Attach application paper glossy side To the kapton tape sticky side. | c) Cut kapton tape. |
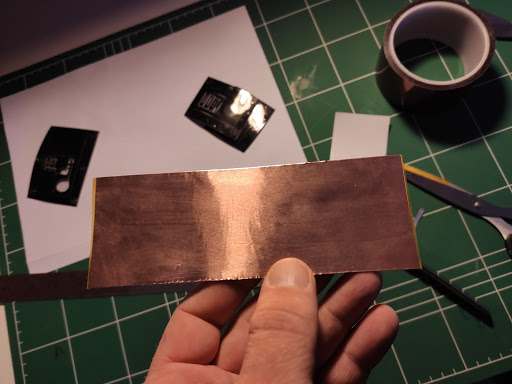 | 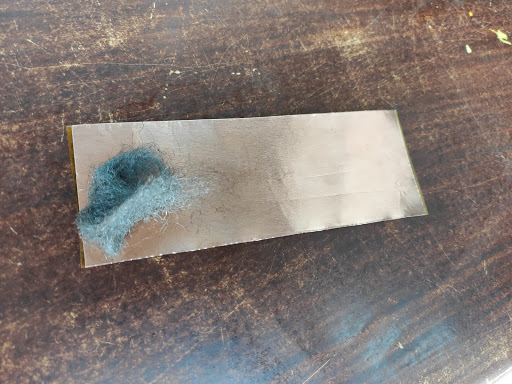 | 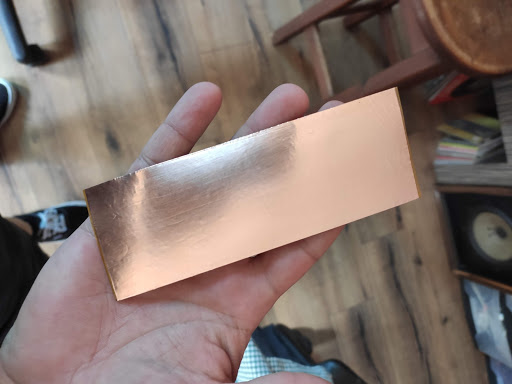 |
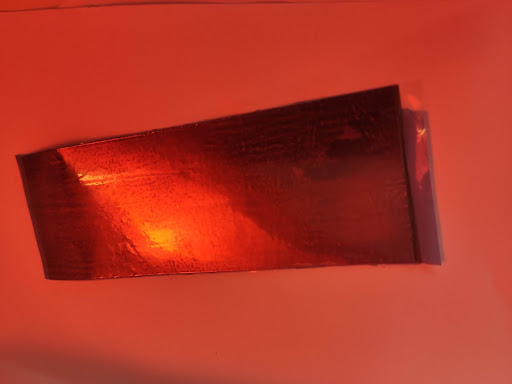
| d) Apply copper tape on kapton tape upper side. | e) Clean copper side gently with steel wool. | f) Flexible clad is ready! |
2 . Applying PhotoSensitive Dry Film on Flexible Copper Tape Clad
 |  |  |
| a) The PhotoSensitive dry Film is sensitive to UV light do this part in a dark room. | b) Cut a piece of PhotoSensitive Dry Film at the size of the copper clad. | c) Remove protective cover from one side of The PhotoSensitive Dry Film. |
 |  |  |
| d) Add few drops of water on the copper clad and apply The uncovered side of PhotoSensitive Dry Film onto the copper clad. try to avoid air bubbles wipe the clad gently with a kitchen towel from center to edges. | e) Place the copper clad inside two A4 papers folded to half. | f) Feed the folded papers with clad through a hot laminator . do this process twice! |
 |
| g) Done!! |
3 . Circuit PhotoMask Design and PhotoLithography Transfer
Circuit design is made with Inkscape a free open source vector graphics editor
Photolithography Technique uses UV light to transfer a geometric pattern from a photomask (also called an optical mask)
to a photosensitive (light-sensitive) chemical film on the substrate.
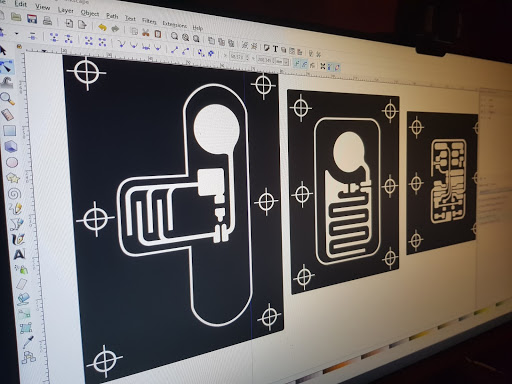 | 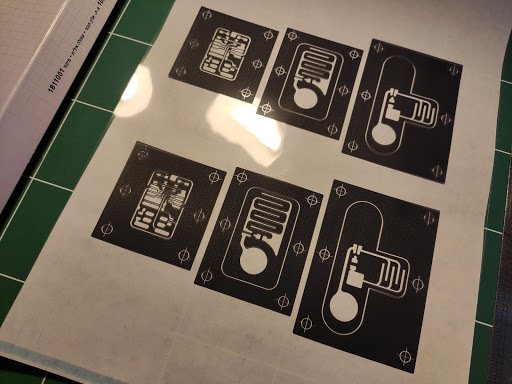 |  |
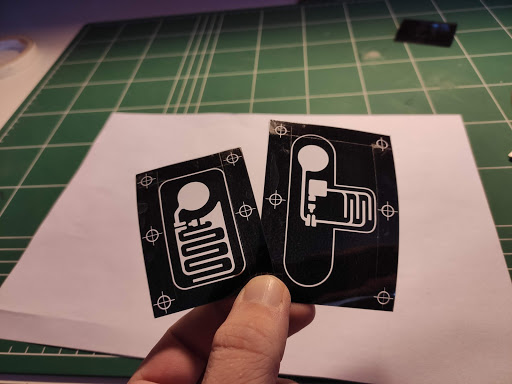
| a) Design your circuit graphicly with inkscape. | b) Duplicate Circuit design and print on A4 transparent PVC with a laser printer. | c) Cut PhotoMask use a precision knife and ruler. |
 | 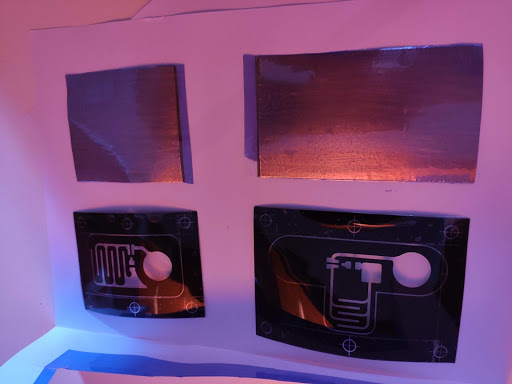 |  |
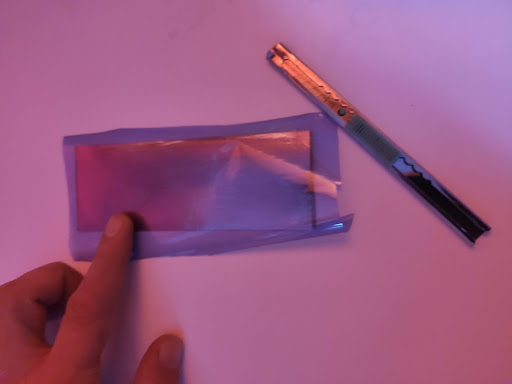
| d) Tape two PhotoMask layers with a clear sellotape. check for alignment and direction!. two layers are used for a darker black color and better light proof. | e) Cut Copper clad at the size of the circuit cut it a bit smaller from the photomask. | f) Position photo mask onto the copper clad and tape it from the bottom side with 20mm masking tape. check for alignment and direction! |
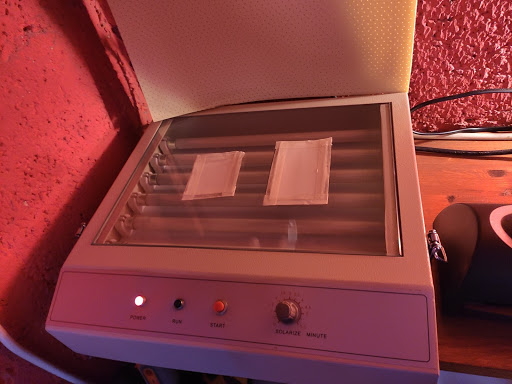 | 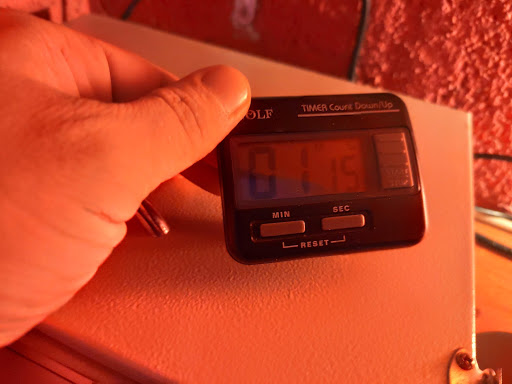 |  |
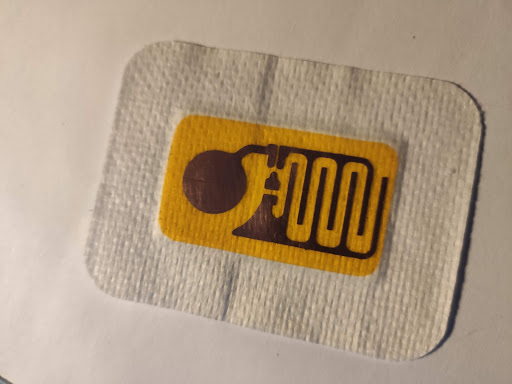
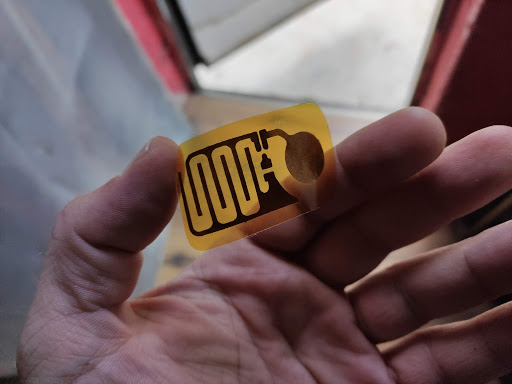
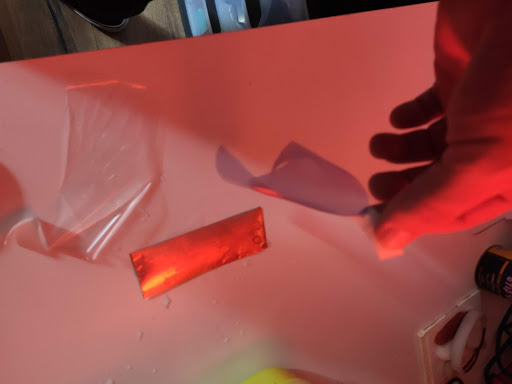
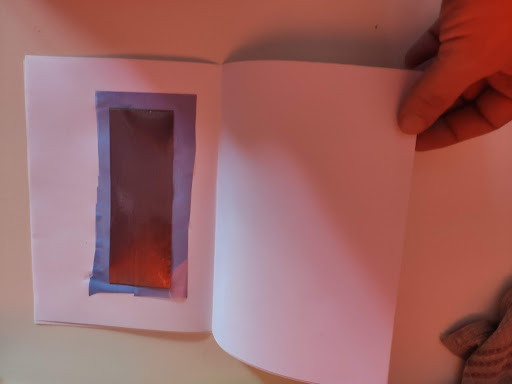
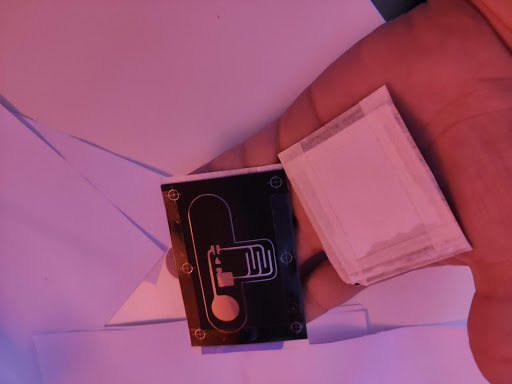
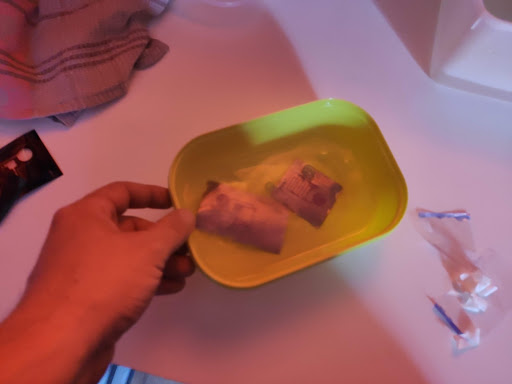
| h) Place copper clad taped with photomask onto UV light Box face down. lock the UV box lid. | i) Expose to UV light for 1:15 min. | j) Remove photomask from the copper clad keep the clad in a dark place! remove photosensitive dry film top protection layer from the copper clad before developing stage. |
4 . Developing Process
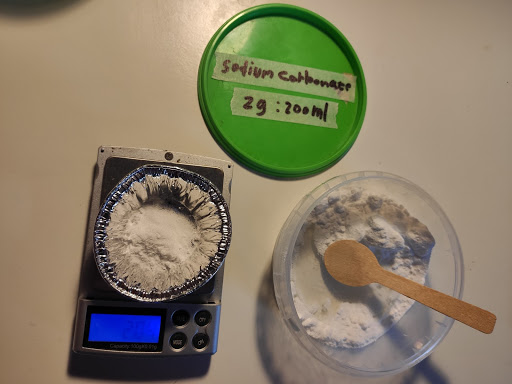 |  |  |
| a) Prepare Developing solution in a plastic container 2g sodium carbonate : 200 ml water | b) Place the exposed clad in the developer and wait for 3-3.5 minutes. when clad is completely developed, take out from developing solution and rinse the clad gently in water. | c) Place developed clad on a kitchen towel and let it dry. |
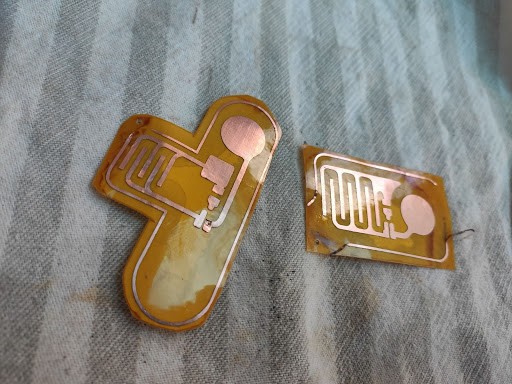
5 . Etching
 |  |  |
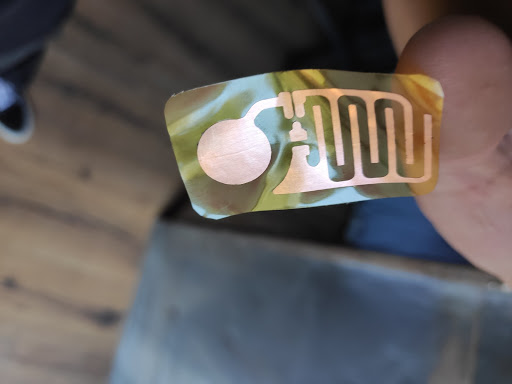
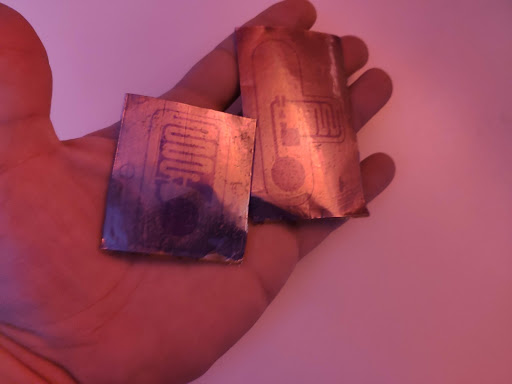
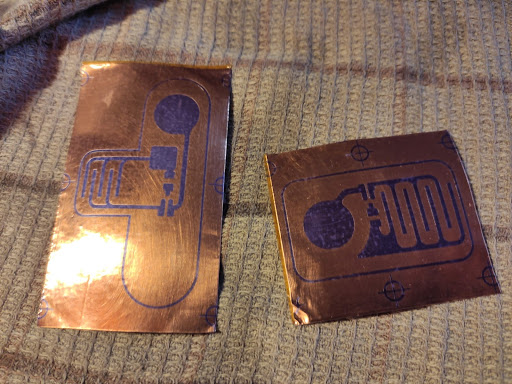
| a) We use ferric chloride as our etchant based on the Edinburgh Etch for Copper mix 1 liter saturated ferric chloride solution(40%) 200ml tap water, 66.6g citric acid working temperature 50C. work with disposable gloves on etching part! | b) Etching time takes around 7 - 20 min. depends on clad size and copper surface to etch. | c) Once Circuit is fully etched rinse it gently with water. Place Etched Circuit on a kitchen towel and let it dry. |
6 . Removing PhotoSensitive Dry Film From Copper Traces
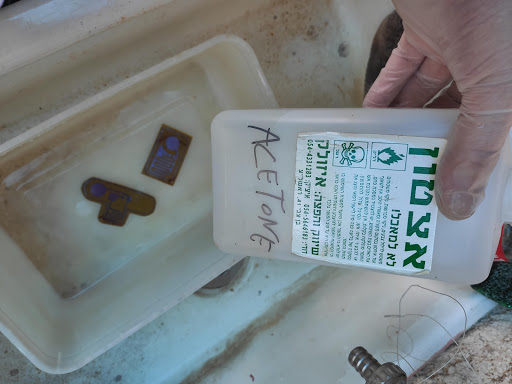 | 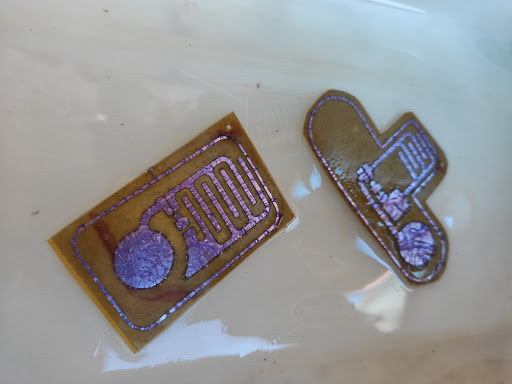 |  |
| a) Place etched circuit in a plastic container. pour acetone on the circuit and wait few seconds till the photosensitive dry film dissolves. | b) Wipe gently the dissolved photosensitive dry film. use a cotton ball. | c) Once all the photosensitive dry film is removed from copper traces. rinse the circuit with water. Place Etched Circuit on a kitchen towel and let it dry. Done! |